Product photography plays a crucial role in the purchasing decisions of consumers, in addition to website design. Unlike in-store shoppers, online customers cannot physically touch or feel the products, which is why it's crucial to provide more than just a basic frontal image to demonstrate a product's texture, fit, and appearance. Photography not only attests to the quality of your product but also reflects your brand image, creating a lasting first impression.
In the second part of our How to Sell Online guide, we learnt how to build an online brand—from how to display logos to how to effectively use negative/white space on your website to highlight your products.
In part three, we’ll explore how to take product photos to enhance the look and feel of your ecommerce website.
Difference between product and lifestyle images
When building your ecommerce website, you'll need two types of images:
-
Product shots: These are sharp, product-only images on a white background.
-
Lifestyle shots: This type of photography captures your product in an intended environment or with other complementing products.
Typically shot on a light-coloured or white background, product images highlight your product from all relevant angles. These images describe your product visually on your product pages. Mixed in with a couple of lifestyle shots, it can help create an emotional bond with your product and encourage visitors to purchase.
Lifestyle shots, on the other hand, are best suited for social media, blog posts, emails, and your homepage because they tell a story. Since they allow for more creative freedom, you can take indoor or outdoor shots that suit your brand.
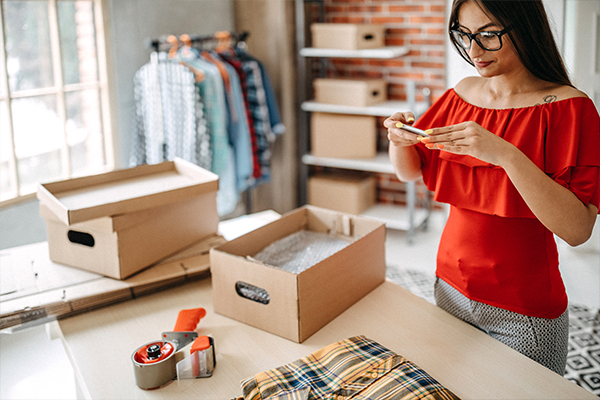
Your guide to DIY product photography
Before getting started, make sure you have all the equipment and setup that suits your needs. What equipment do you need to take pictures of your inventory?
-
Camera. If you're on a budget, today’s smartphones will work well. However, DSLR cameras might help improve the quality of photographs.
-
Lighting. Lighting is essential for your photography, so ensure both natural and artificial light sources are on point.
-
Backdrop. A white backdrop or using a light box will highlight your product and enhance the overall quality.
-
Tripod. Using a tripod—either one built for a smartphone or a DSLR —will help reduce camera shake and keep your photos consistent.
-
Image editing. To give your images a polished look and add final touches, you'll need an image editing app. Luckily, there are many free image editing tools available to download right on your smartphone.
Even if you're inexperienced using a camera, with a little trial and error you can take great product shots to help you sell more online. The key is to find a process that suits your needs, so after a while, each step will become more natural.
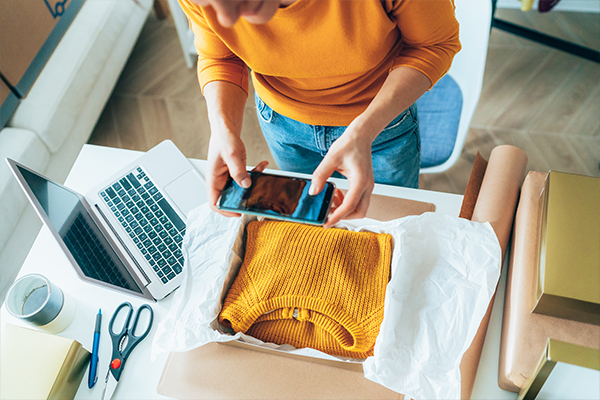
How to master product photography on a budget
On a budget? No problem. A little DIY can go a long way when it comes to making your website look more professional and thus more likely to help you sell your products and services online.
These DIY ecommerce product photography tips aim to help you start taking great photos today so you can be well on your way to creating a website that represents your vision.
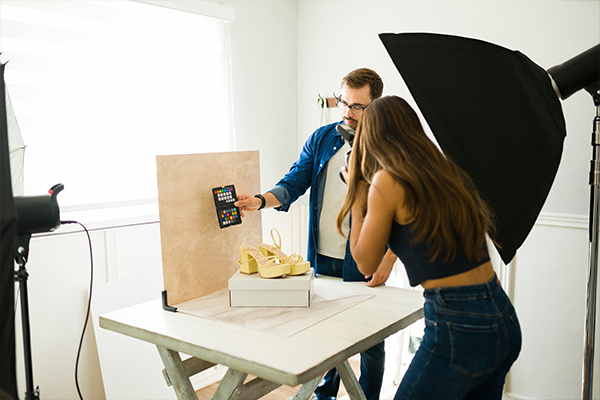
Set up your background for product shots
Use a white or light background, as it simplifies the entire editing process when retouching your images. You can improvise a backdrop on a budget by creating your own light box. It's a box-shaped device with translucent walls that helps distribute the light evenly around your product.
Make sure to set your light box on a flat, stable surface with your product in the middle. Use glue dots or tape to fix harder to photograph products in place. Once you get the lighting right, you're almost ready to start shooting.
Find the right lighting for your shots
Setting up the lighting can be tedious, but when done right, it results in beautiful and high-quality images.
If you're on a budget, it's best to use natural light. For small in-house product shoots, start by placing your table and backdrop near a large window that allows lots of light. It's always best to shoot when the day is brightest but try not to shoot under direct sunlight as it can create harsh shadows. You can minimize the light and diffuse it by placing white tissue paper or a thin sheet over the window.
If using natural light isn't possible, use artificial lighting for your photo shoots. If you made your light box, you could buy inexpensive table lamps with cool white bulbs. Set up the lamps on either side of the light box, manipulating the angles and the distance until you get soft, even shadows around your products. Artificial lighting gives you more control over the entire process, especially if you are shooting multiple products over several hours.
Using the right camera and tripod for your shoots
You don't need to invest in an expensive camera to take great pictures. Smartphone camera technology has come a long way over the years. As long as you have your background and lighting set up correctly, you can take high-quality product photos with your smartphone.
You may want to invest in a smartphone stabilizer or tripod to bring consistency and stability to your photos. It's easy to end up with blurry and inconsistent images when you're holding the camera in your hands.
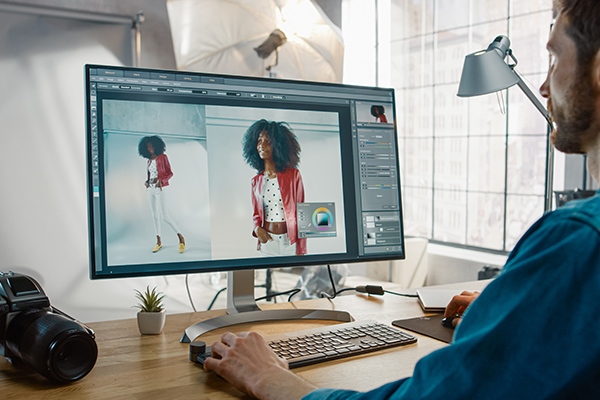
Edit your images for a polished look
A little image retouching after the shoot can make the difference between mediocre and professional results.
When you're first starting with product photography, getting the background or the lighting right takes a bit of trial and error. Luckily, there are many free image-editing tools available for your smartphone to help with everything from background removal to colour correction thanks to prebuilt filters.
Here are some free photo editing tools you can use on your laptop or smartphone:
-
Pixlr. Free and has a lot of the functionality of Photoshop.
-
Canva. User-friendly free online editor best suited for marketing materials such as social media posts, posters, and even presentations. With the paid account, you'll get access to the background removal tool to make the editing process easier.
-
VSCO. Free, easy-to-use smartphone app. You'll get access to many free filters that edit your photos within seconds. With their paid subscription program, you can get access to video editing tools and presets to create professional-looking product videos.
-
Snapseed. Another powerful, fully-featured mobile app that is free.
-
Lightroom. A great photo editing app that makes your photos look professional.
Optimize your images to increase performance
If your ecommerce site takes too long to load, it can hurt your bottom line. To increase your website performance, optimize your images so the files sizes are as small as possible without reducing the integrity of the image. This will help your pages load faster. There are plenty of free image optimization tools available online to compress your photos before you upload them on your website.
Finally, name your images correctly when you save them on your computer by including relevant keywords. For example, if you're selling a blue t-shirt with a red heart on it, you could name your image file something like blue-tshirt-red-heart.jpg. This additional detail helps Google understand the content in the image, thus helping your products rank higher in Google, boosting the number of visitors to your site.
Adding an image-alt tag that describes the item in more detail improves the accessibility of your site, while providing search engines with an additional layer of information that could help your products end up in photo search results.
Click here to read How to Sell Online (Part 2) where you can learn about how to improve the readability and usability of your content on your website.
Ready to start building your website? Check out Moneris Online today!
Share